Start Your
Netgear Extender Setup Now

Click to begin configuration via Mywifiext. Get your WiFi extender running in just a few easy steps.

Airrangepulse.site Extender Setup

If you’ve ever felt the frustration of dropped Zoom calls, laggy gaming, or slow-loading pages
just because you moved to another room—you’re not alone. WiFi dead zones are a common
struggle, especially in larger homes. Thankfully, a WiFi extender can help eliminate these dead
spots. And with My WiFi Ext net, setting it up is easier than you might think.
In this article, we’ll go through the My WiFi Ext extender setup process step-by-step, cover
common problems and their fixes, and share a few helpful extras to improve your WiFi
coverage.

What is My WiFi Ext net?

My WiFi Ext net isn’t a regular website—it’s a local web address that helps you configure and
manage your  extender. You can’t access it like Google or Facebook; it only works
when your device is connected directly to the extender’s WiFi network (usually named
airrangepulse.site.
If you’re seeing an error trying to load it, you’re probably not connected to the right network—but
more on that later.

Common Setup Issues (And How to Fix Them)

Let’s be honest—things don’t always go perfectly. Here are some typical issues people face
during setup, along with easy fixes:
Issue #1: Can’t Access My WiFi Ext net
Why it happens:
– You’re not connected to the extender’s network.
– DNS errors or outdated browser cache.
How to fix:
– Double-check that your device is connected to airrangepulse.site.
– Try the IP address.
– Clear browser cache or try another browser.
– Temporarily disable VPN, firewall, or antivirus.

Issue #2: WiFi Password Not Accepted
Why it happens:
– A simple typo or outdated password.
How to fix:
– Confirm your home WiFi password on another device.
– Re-enter it carefully—especially with special characters.

Issue #3: Connected but No Internet
Why it happens:
– Weak connection between router and extender.
– Incorrect setup or DNS problem.
How to fix:
– Move the extender closer to the router.
– Restart both router and extender.
– Re-run the setup from scratch.

Issue #4: Can’t See Home Network During Setup
Why it happens:
– Your router’s SSID isn’t being broadcast.
– Interference from walls or appliances.
How to fix:
– Enable SSID broadcast on your router.
– Reposition the extender and scan again. 

Issue #5: Forgot Extender Login Credentials
How to fix:
Factory reset your extender:
– Find the Reset hole on the extender.
– Press and hold with a paperclip for 10 seconds.
– Wait for LED to blink and restart the setup.

Alternative Setup: Using WPS Button

Not a fan of browser setup? Here’s a super quick method—no typing needed.
1. Plug in your extender near the router.
2. Press the WPS button on your extender.
3. Within 2 minutes, press the WPS button on your router.
4. Wait for a solid green light.
Now relocate the extender to your preferred spot. That’s it!

Frequently Asked Questions

Q: Can I use my airrangepulse.site extender with any router brand?
Yes, most airrangepulse.site extenders are compatible with all major router brands.
Q: Is My WiFi Ext net a public website?
No, it’s a local configuration address and works only when connected to the extender’s network.
Q: How many devices can connect to the extender?
This depends on the model, but many  15–30 devices.

Step-by-Step Airrangepulse.site Extender Setup

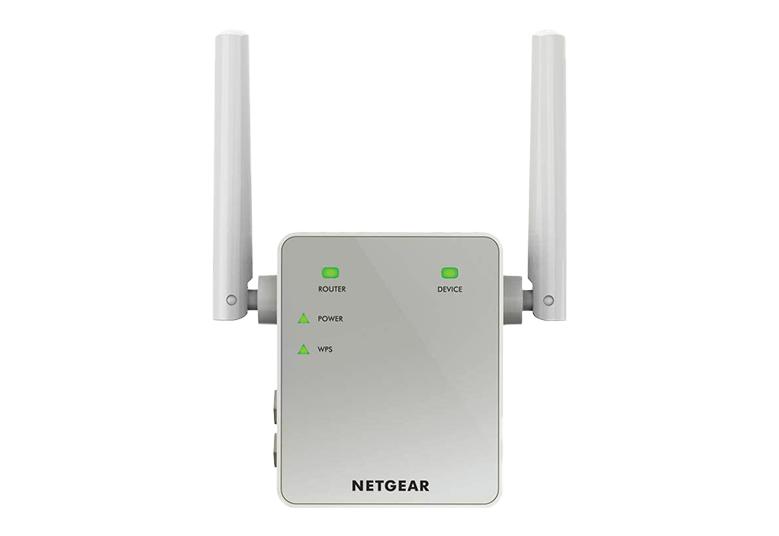
Step 1: Plug in the Extender
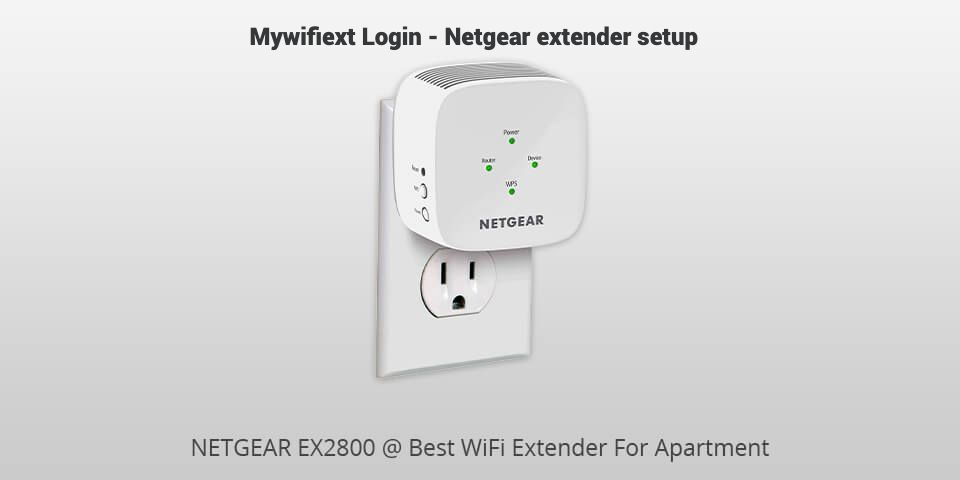
– Plug your  extender into a power outlet near your WiFi router.
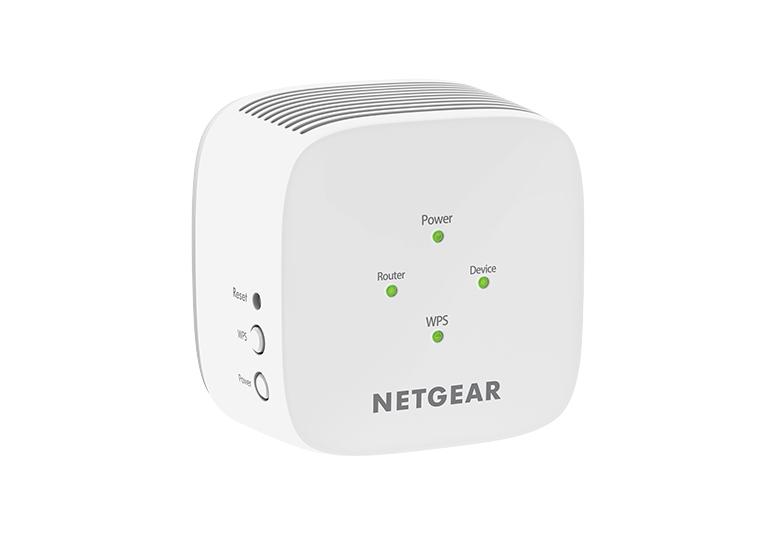
– Wait for the Power LED to turn solid green or white. This may take a minute or two.
💡 Tip: If the light doesn’t turn on, check the outlet or try a different one.

Step 2: Connect Your Device
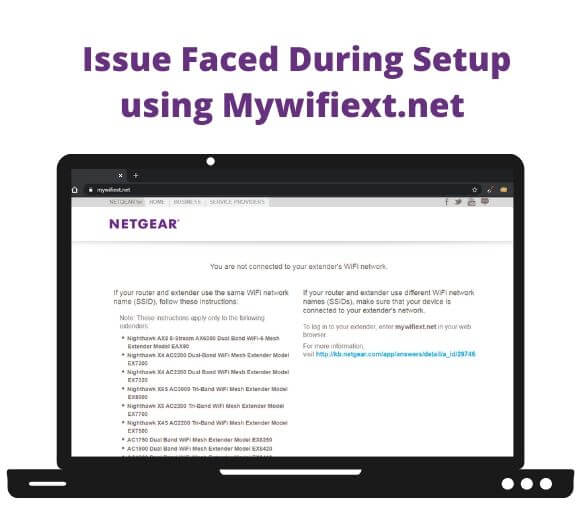
– On your laptop, smartphone, or tablet, go to WiFi settings.
– Connect to the network called airrangepulse.site. No password is usually needed.

Step 3: Launch a Browser
– Open a browser (Chrome, Firefox, Safari) and type www my wifi ext net
into the address bar.
– You’ll see the Genie or setup wizard page.
Step 4: Begin the Setup
– Click New Extender Setup.
– You’ll be prompted to create an admin username and password. Make sure to note these
down—you’ll need them later.

Step 5: Select Your Home WiFi Network
– The extender will scan and list available networks.
– Select your home WiFi (both 2.4GHz and 5GHz if available).
– Enter your existing WiFi password carefully.
Step 6: Customize Extended Network
– You can keep the default extended network names (e.g., MyHomeWiFi\_EXT) or rename
them.
– Once done, the extender applies the settings

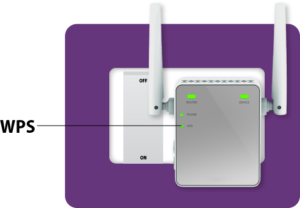
Step 7: Reconnect and Relocate
– Disconnect from  and connect to your new extended network.
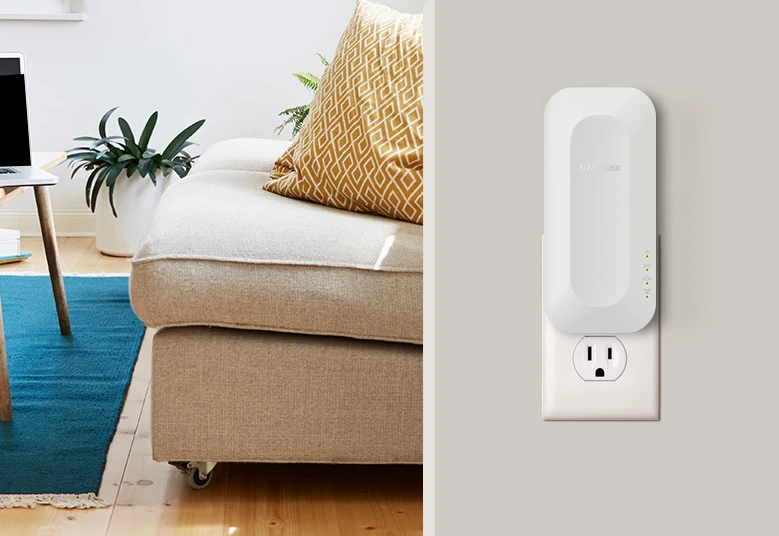
– Now unplug the extender and move it halfway between your router and the area with
weak signal.
– Wait for the Connection LED to turn green, indicating a strong connection.
🎉 That’s it! You’re now enjoying extended WiFi coverage.

Airrangepulse.site

If you’ve made it this far, you’re now well-equipped to handle My WiFi Ext extender setup like a
pro. Whether you’re battling weak signals in your bedroom, basement, or balcony, a properly
installed WiFi extender can make all the difference.
By following this guide, you’ve not only learned how to set up your extender but also how to
avoid the common mistakes that leave others stuck. And remember—technology is here to
make your life easier, not harder.
So go ahead, stream that movie, jump into that video call, or scroll endlessly on your favorite
app—without ever worrying about a weak signal again.